
Subscribe and receive email notifications of new blog posts.
 RSS Feed
26
8 Tips for Adding a Walk-In Closet

Inviting, luxurious, and functional, a walk-in closet can bring a sense of order into your life. With this addition, you get extra space and storage, a spot for starting your day, and a feature that will improve your home's value. And it doesn't take any special skills or knowledge in carpentry to build your own walk-in closet. With enough space, the right tools, and a little bit of creativity, you can create something that will instantly add a touch of finesse to your master bedroom whilst giving you that private space for getting dressed. Here, our real estate agents will take you through the process of building an amazing DIY walk-in closet.
Design Your Walk-In Closet With These Steps
- Choose a Location
You have three options when deciding where to build your walk-in closet. You can convert a spare bedroom into your closet, break through a wall and take space from an adjacent room, or frame off an alcove in your bedroom. Avoid irregularly shaped rooms because walk-in closets work best in rectangular or square settings.

- Design Your Closet
To plan the size and layout of your walk-in closet, you'll need to assess your needs and draw up a rough sketch of what you want your closet to look like. Some questions to ask yourself as you write down ideas include:
-
- Will you use a folding or swinging door?
- What are your storing in it?
- What type of storage option do you want to include?
- Where do you need more space?
- Do you need more hanging space or drawers?
- Do you prefer drawers or open shelving?
- What is the ideal length of your hanging storage areas?
- Will you include non-storage elements, like an office space or spot to iron clothes?
- Do you need compartments for your accessories?
- Measure Your Room
Using a measuring tape, get the dimensions of your room and draw up a floorplan. Write down the length and width of the walls, and don't forget the corners. Make note of where windows and doors are located, as well as the location of air vents, light switches, outlets, and anything else on the ceiling, walls, or floor. There are some dimensions to keep in mind:
-
- Hanging spaces should be around 48 to 50 inches.
- Allocate 1 inch of hanging space per item and an extra 1 inch for bulky items like seasonal coats.
- The walls are typically framed with 2X4 lumber.
- Long-hang space should be placed 70 inches from the ground for easy reach.
- Leave 3 to 4 inches above the hanging bar.
- Each stud must be spaced 16 inches from the center of the next.
- Check With Your Local Building Department
You may or may not need a permit for your walk-in closet addition. Contact your local building department to be on the safer side. If you plan to put lighting in the closet, you or your electrician will need an electrical permit for the job.
- Lay the Foundation
If your room is carpeted, pull back the carpet and roll it out of the way. If you like, you can cut and tack it back down when you're finished with the project. You may want to pry the baseboard off of sections of the wall that will be part of the closet. To lay the foundation, start cutting up wooden pieces based on your measurements. Make sure to measure twice before cutting the pieces to avoid wastage of materials.
- Raise the Walls and Run Electricity
The easiest method is to build the wall on the floor, lining it up with the marks you made on the existing walls. Then, tilt it into its vertical position and use a level to ensure it sits straight. Frame the wall about ½ inch shorter than the ceiling height to ensure it does not cause damage. Use shims where necessary to make the wall level and secure the top to the ceiling. Secure the new wall(s) to the existing walls with nails and/or screws every 2 feet, and screw the framing to the floor and ceiling along the header and footer plates. Once your wall is framed, your electrician can add electrical wiring and place boxes for switches or receptacles.
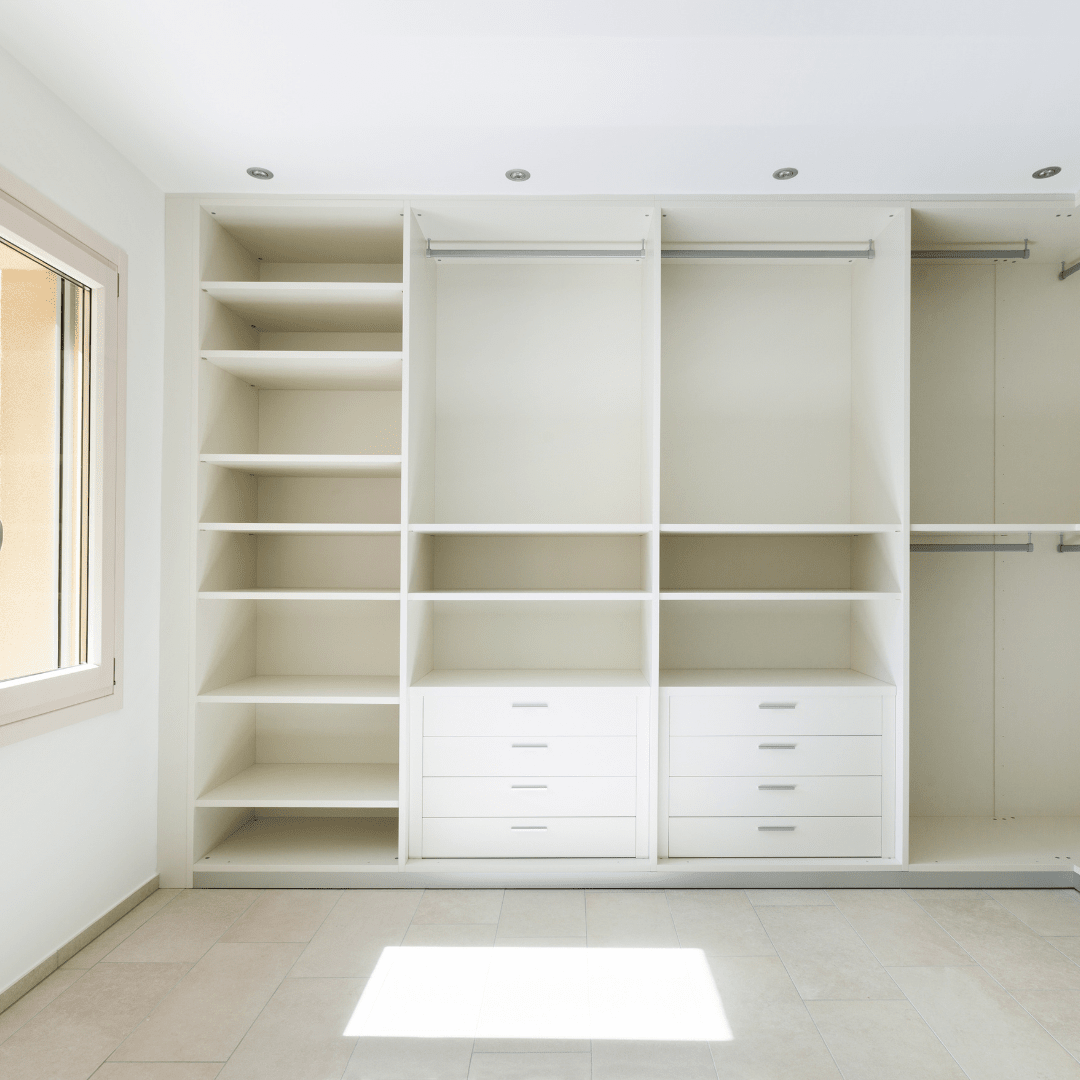
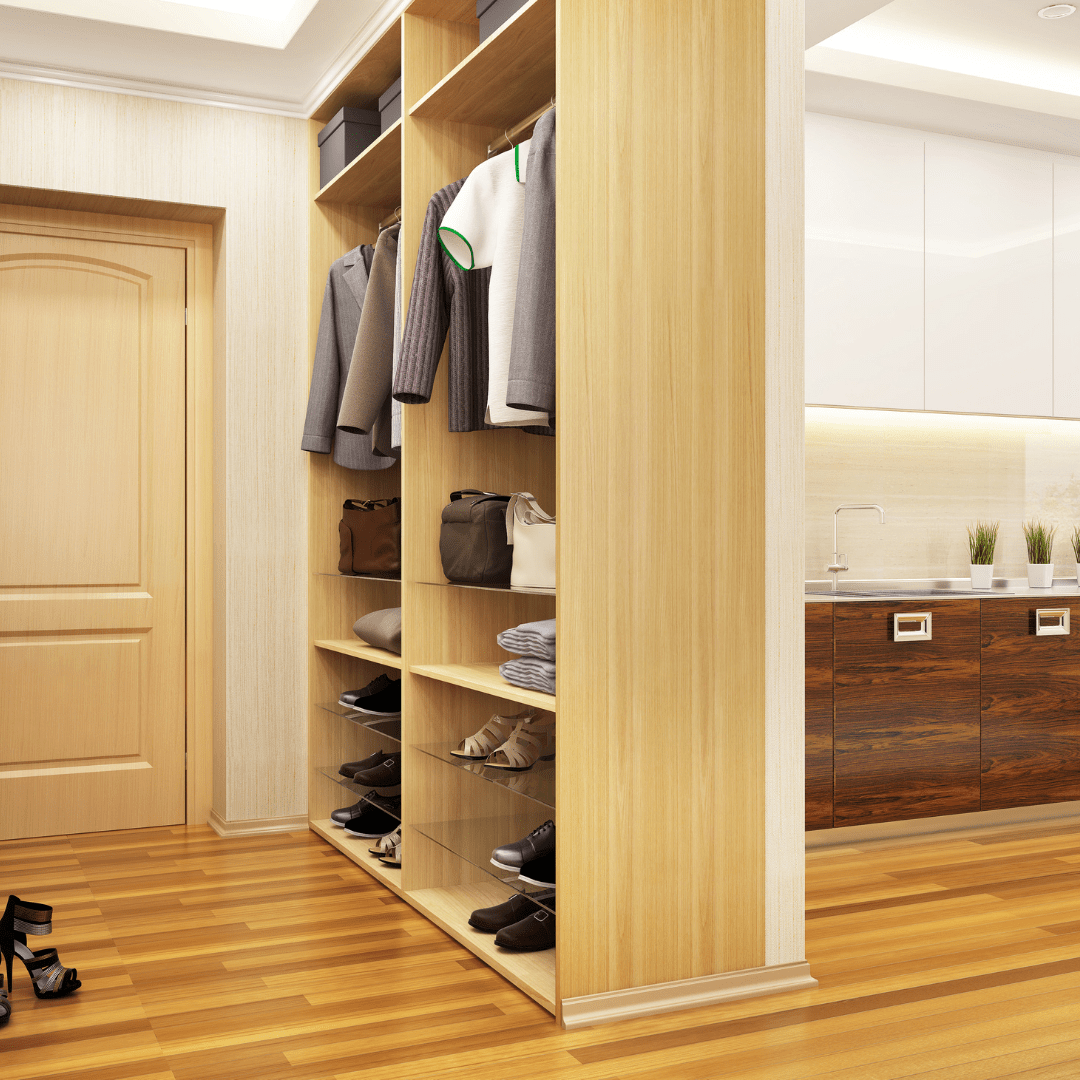
- Install Shelves, Doors, and Hardware
Now that you're done with the basic setup, you can start installing the units. You'll need shims, 3" wood screws, a level, and a power drill to align and secures all the pieces. Install the brackets, rods, shelving, and handles. Finish and paint as needed.
- Finishing Touches
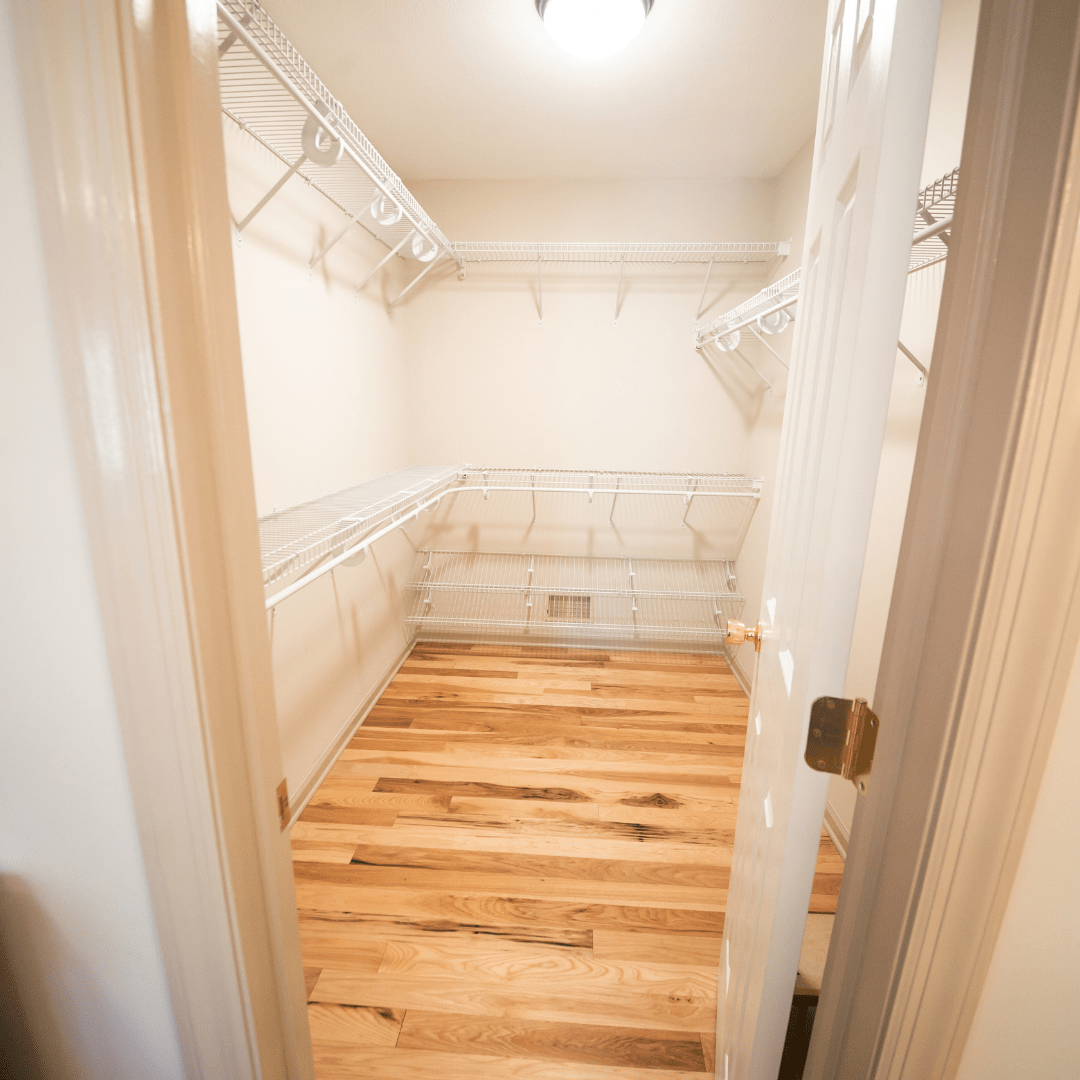
To complete your closet, think about every detail to make it look personal. Choose a light fixture that will light up the entire room. LEDs give the best light for viewing items in walk-in closets. Try emulating natural light as closely as possible to help see colors in detail. Hardwood, vinyl, and laminate flooring are the best choices for walk-in closets.
You did it! It's time to celebrate and enjoy a walk-in closet you built from scratch. Contact us today for more home improvement tips.

Privacy Policy / DMCA Notice / ADA Accessibility